TempID Intro
Temp ID is great for keeping track of your leads for easy access in the future, it also allows you to log all previous communications you have had with the lead (including email and telephone conversations).
Below is an example on how to add a lead onto TempID
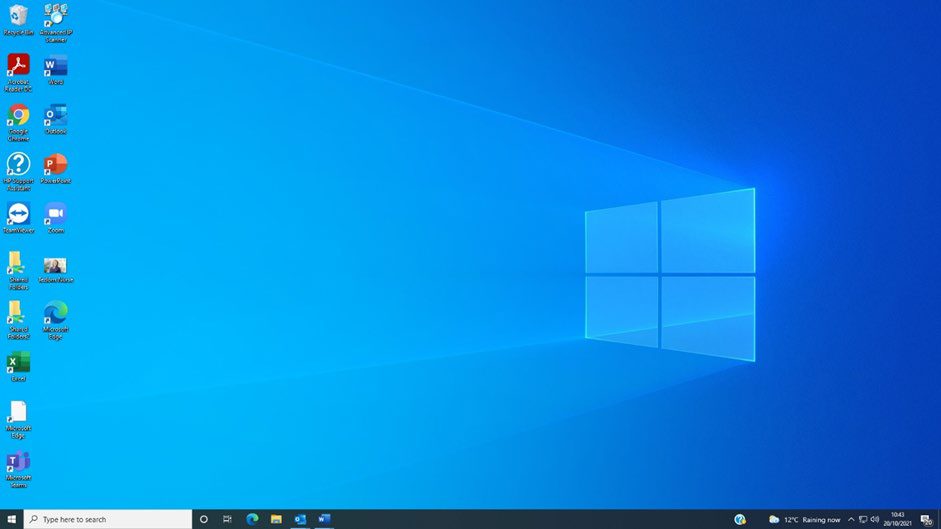
- Firstly, your home page should look similar to the image below:
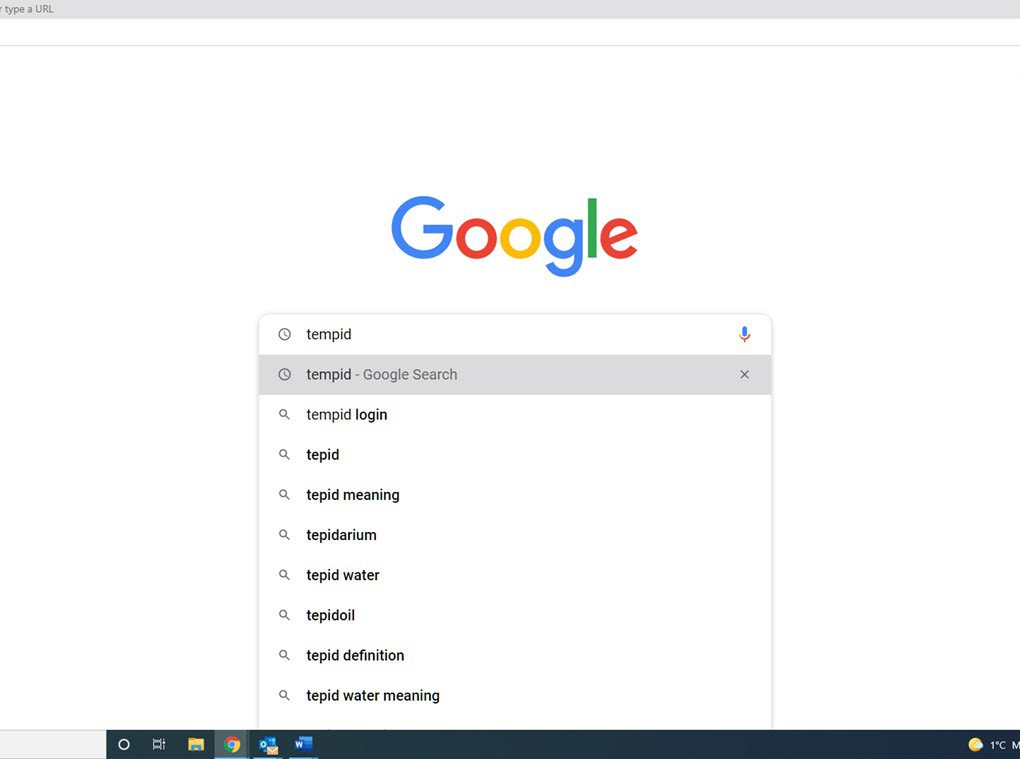
- If you look, you have ‘Google Chrome’ or ‘Google’ as an icon. These are the largest search engines in the world, so make sure you click on them to take you through to their homepage
- You will then be directed to their homepage. Type in ‘TempID’ as shown below:
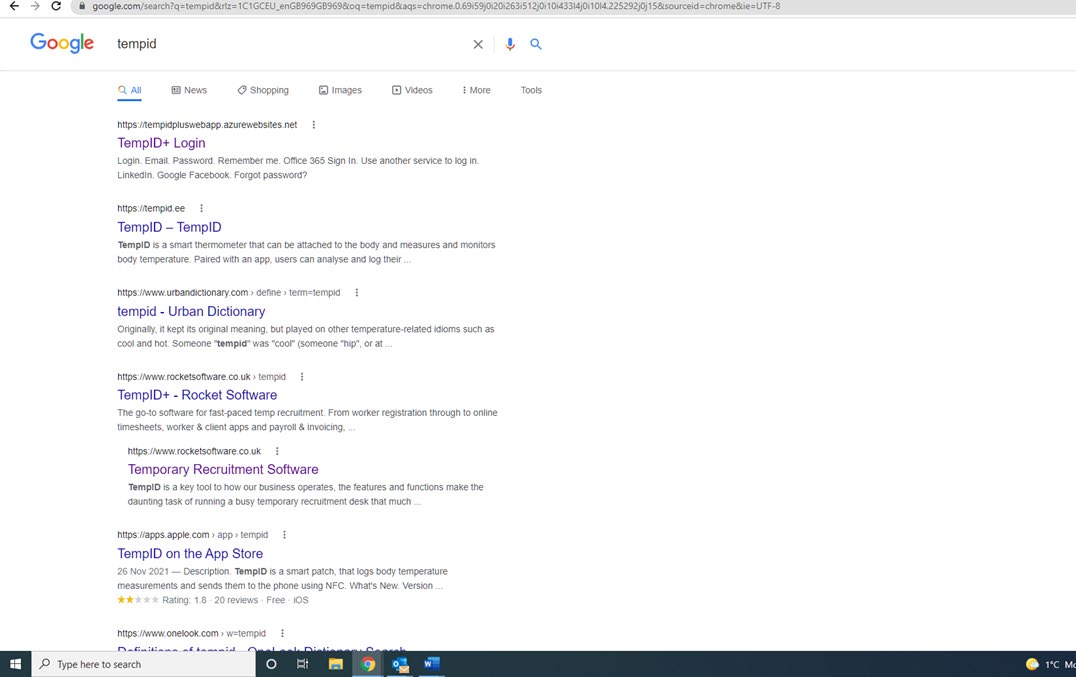
- You will then be directed to a list on google. Click on TempID+ Login.
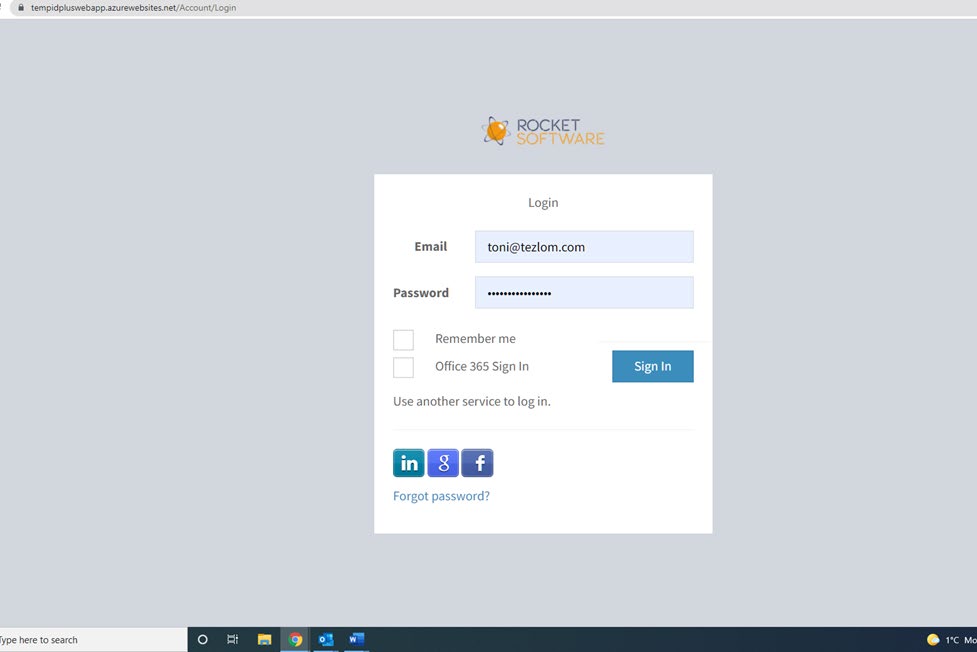
- You now need to log into TempID using your Tezlom email address and password as shown below. Click on ‘Sign in’.
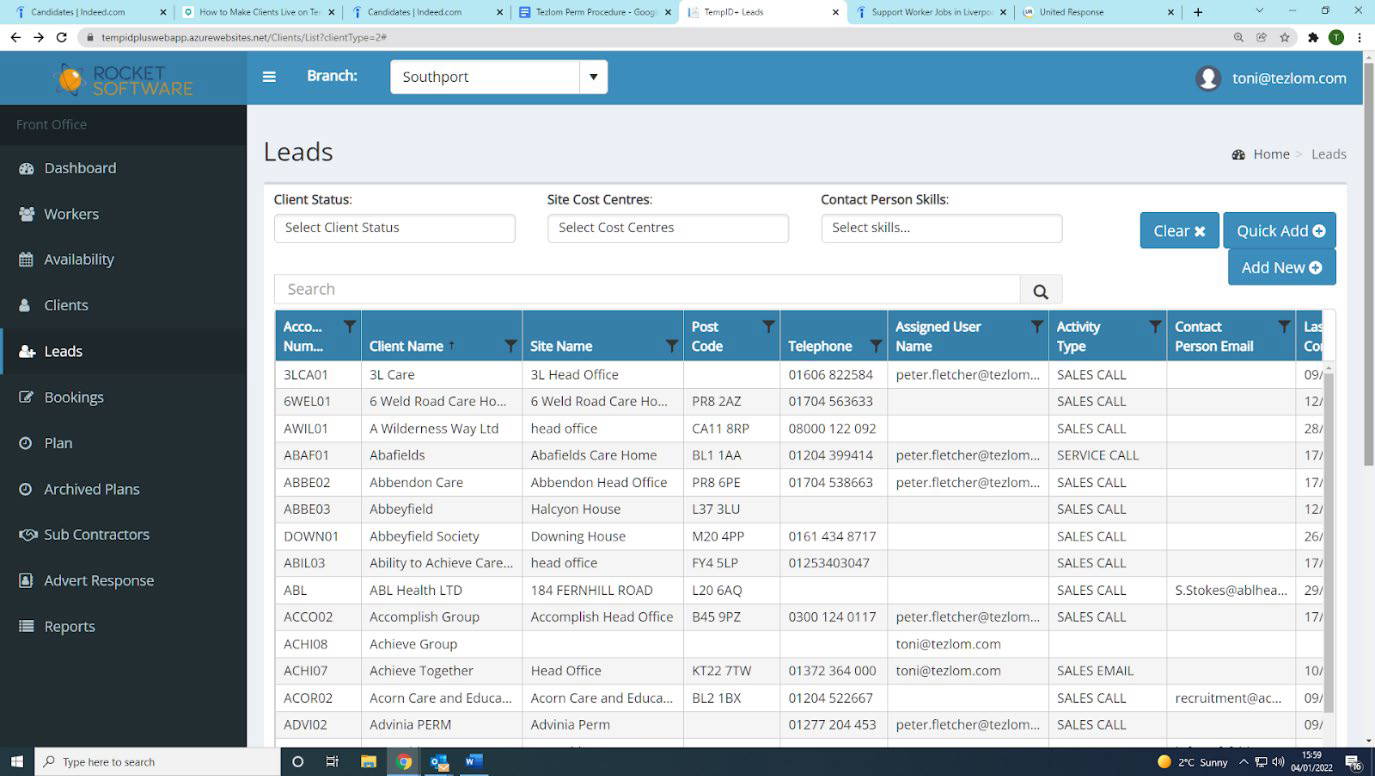
- Once you are logged into TempID, from the menu on the left, click on ‘Leads’ as shown below:

- The below page will show up. It is at this point where you have a choice of either clicking on ‘quick add’ or ‘add new’. We will go through ‘add new’ first.
- The benefit of clicking on ‘add new’ is that you have more of the client details on the system. You can insert more information on what type of care and service they provide, so that when it comes to making the client ‘live’, you won’t be required to fill all of this information in. Click add new.

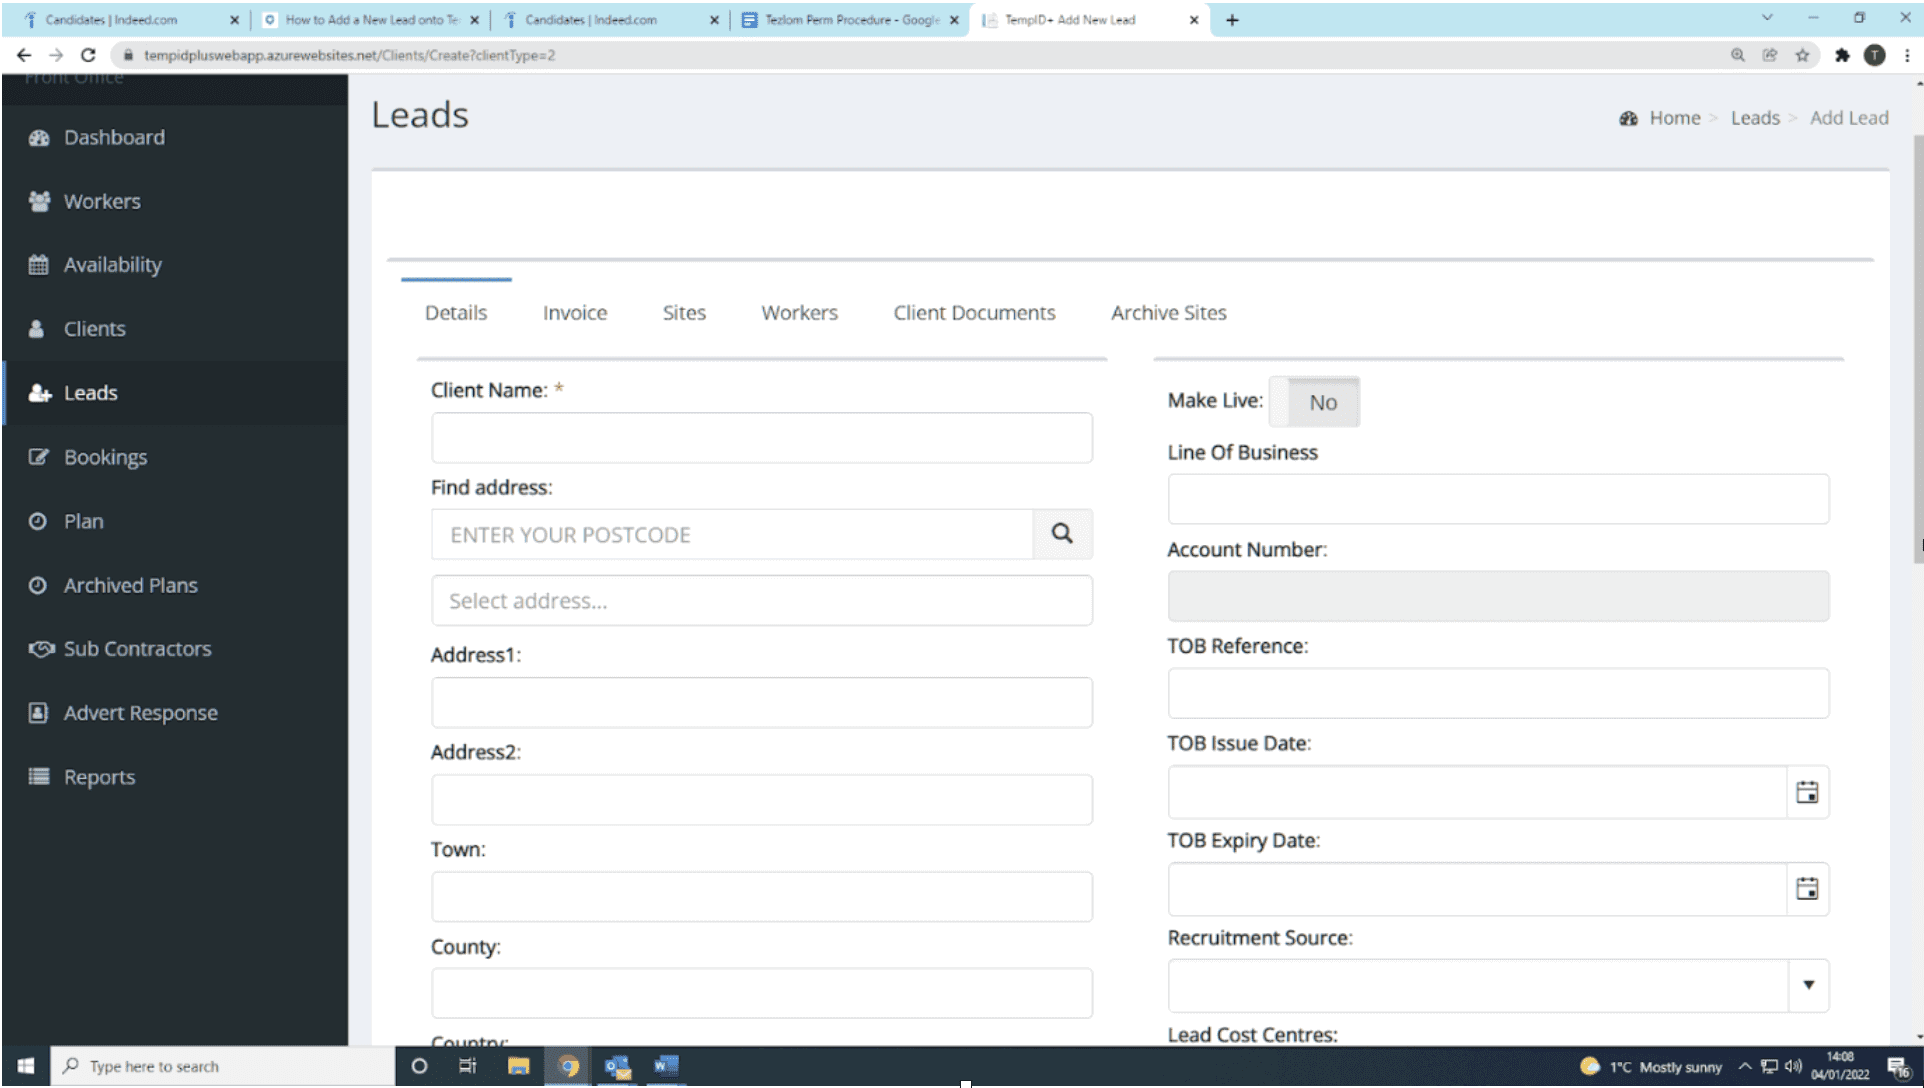
- The first page that will show up is ‘Details’.
- You now need to fill in the following:
- Client name
- Address
- Telephone Number
- Email Address
- Website
- Under ‘Lead Cost Centre’ as pointed out below, you will need to select ‘Permanent Healthcare’. Click save.
- Please note: the client’s name is the owner of the home i.e., HC One, if it is a group and they have multiple sites
- Next, click on the ‘Invoice’ page as shown below:
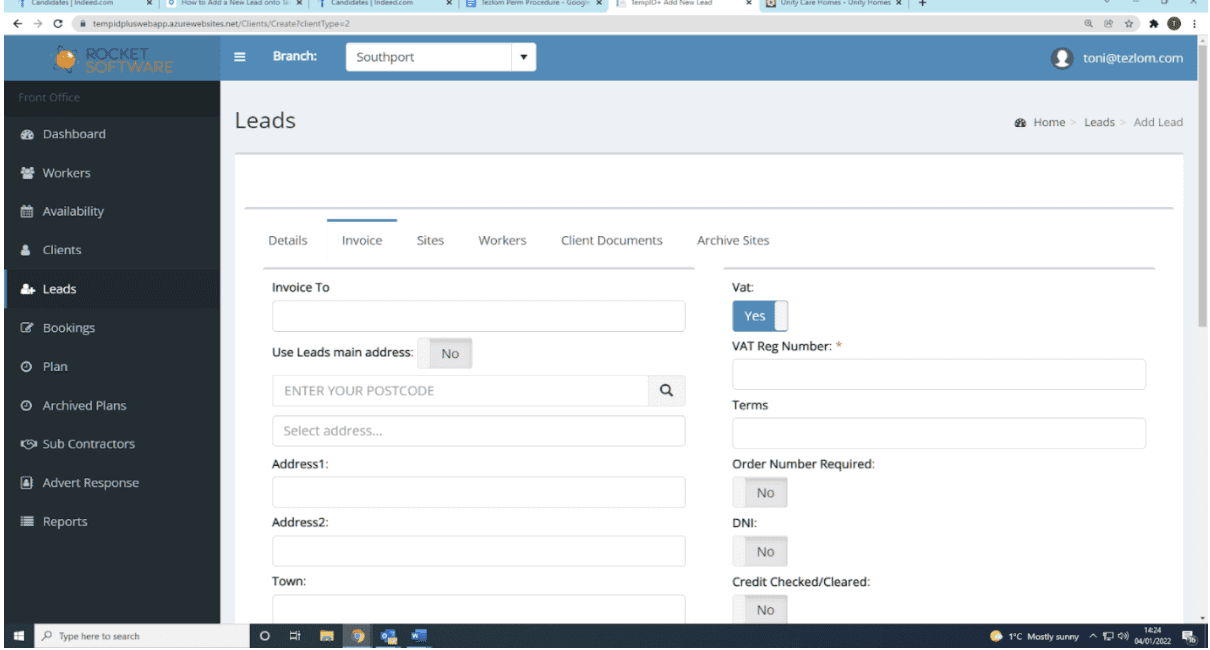
- You now need to fill in the following:
- Invoice to (this is always ‘head office’)
- The address (you can click ‘Use leads main address’ as shown below)
- Email address
- Company Reg Number – found either on the companies website, by searching on google (e.g unity care homes companies house’, this will bring up both the company number and registered address)
- VAT Reg Number (always ‘unknown’)
- Click Save
- Entering a lead under ‘Quick add’ as seen below:
- Once you have clicked on ‘Quick add’, the following box will appear.
- The benefit of doing the quick add is that it is a quick process, it takes less time to do this than ‘add new’ so you can make more phone calls and add them onto the system. However, you will still need to at some point when making the lead a live client, add the additional information in.
- You will need to fill out the following:
- Client Name
- Site
- Title
- Forenames
- Surname
- Sector
- Telephone Number
- Mobile number (if you have it)
- Click Save

You have now successfully added a lead onto TempID