Making a Client Live
Once you have had a successful phone call/meeting with a client, and they have agreed to use Tezlom as a provider of permanent staff members, you will need to make them ‘live’ on TempID. To make a client live on TempID, follow the below process:
- Open TempID and click on ‘Leads’ as shown below:
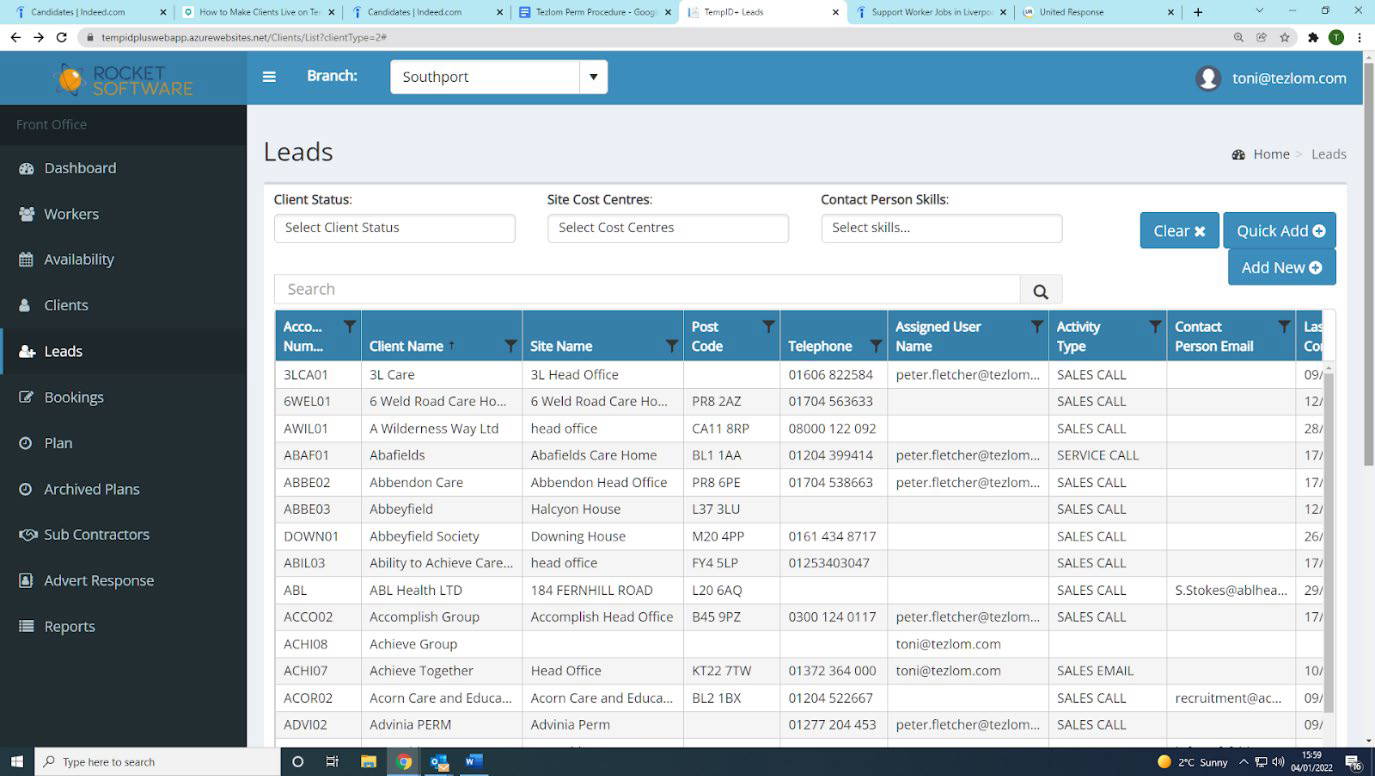
- Find the client by searching the tab shown below, click on the client name

- Once you have clicked on the client name, the following page will appear. On the right hand side you will see the ‘Make Live’ tab, click this.
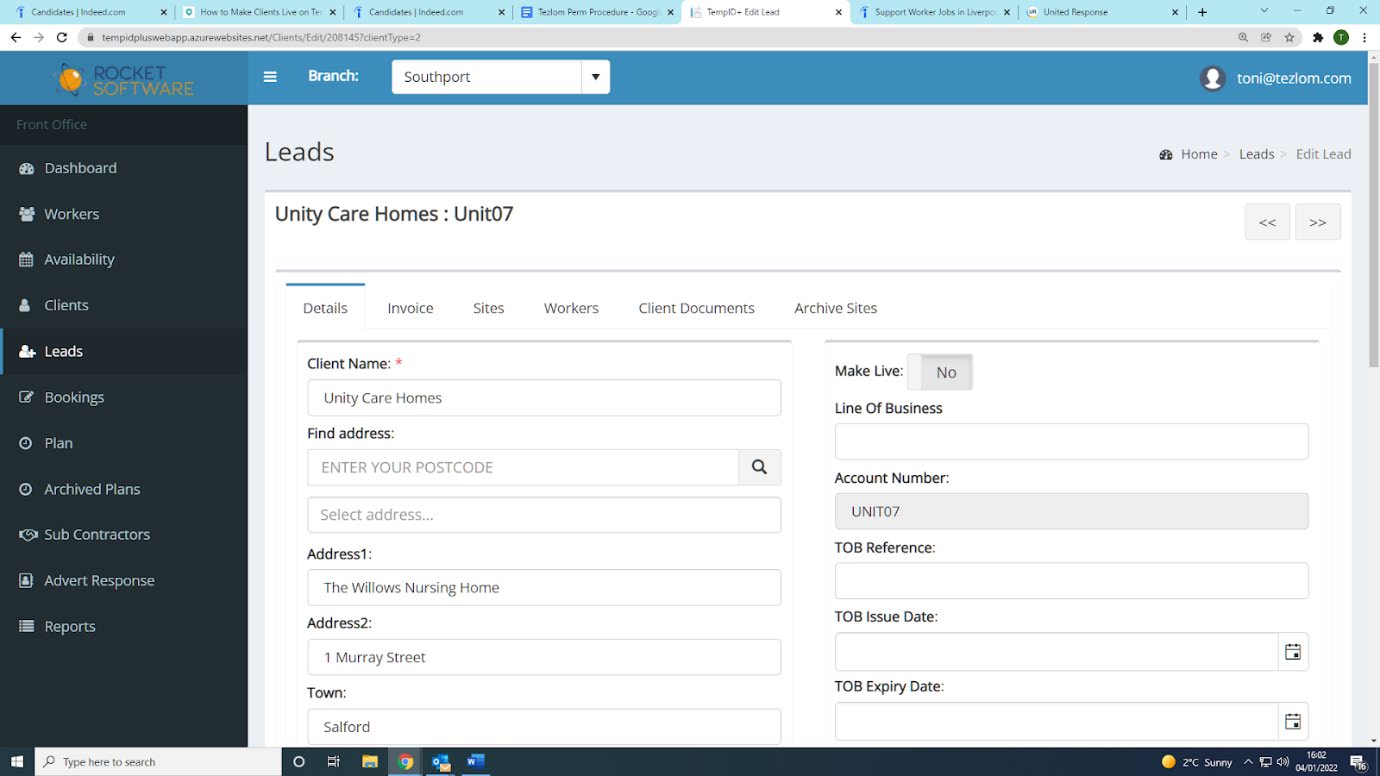
- Now that you have clicked the ‘Make Live’ button, you will need to fill in the following:
- Line of Business (which will be the type of service they provide e.g. residential care)
- Click Save
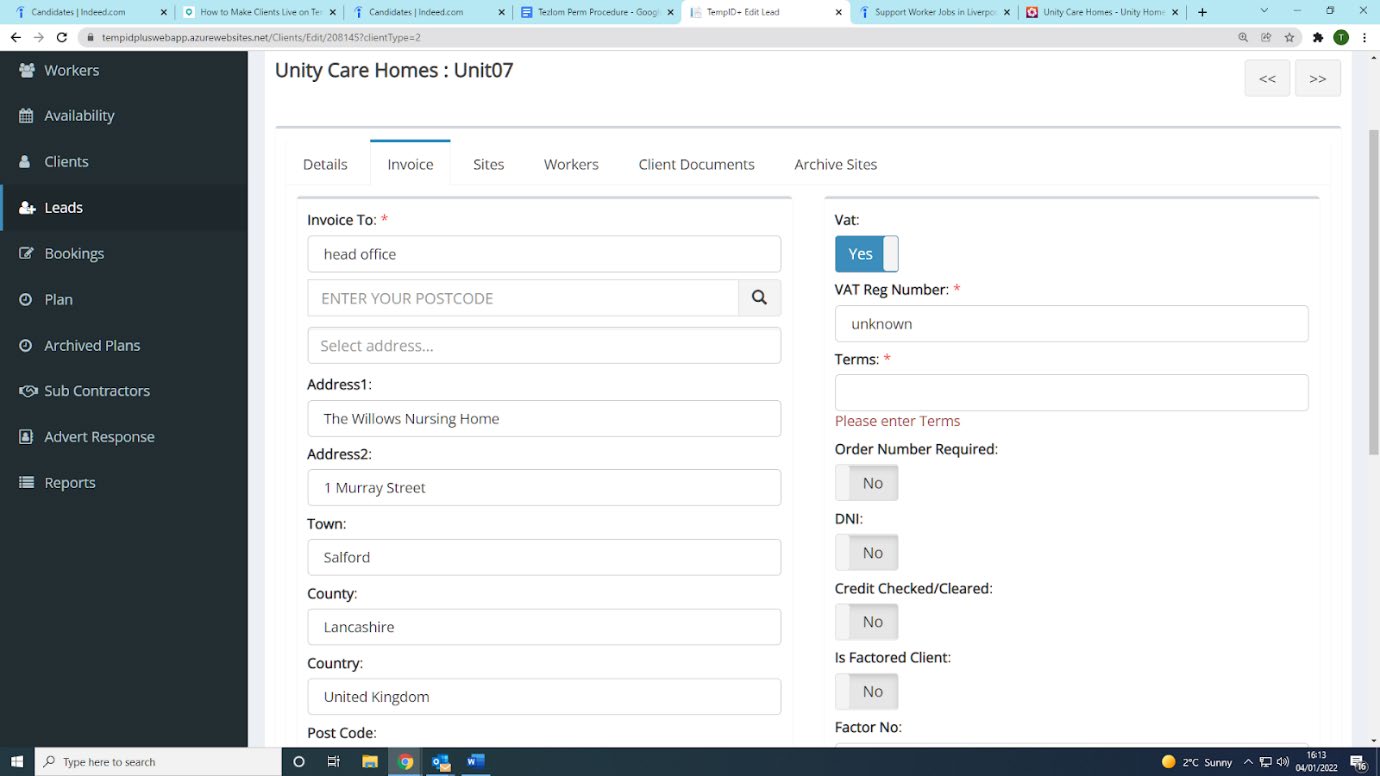
- Once you have filled the ‘Details’ Section, click on the ‘Invoice’ tab as shown below. You will need to fill in the following:
- Terms (this will be the terms percentage that you have agreed with the client)
- Click Save
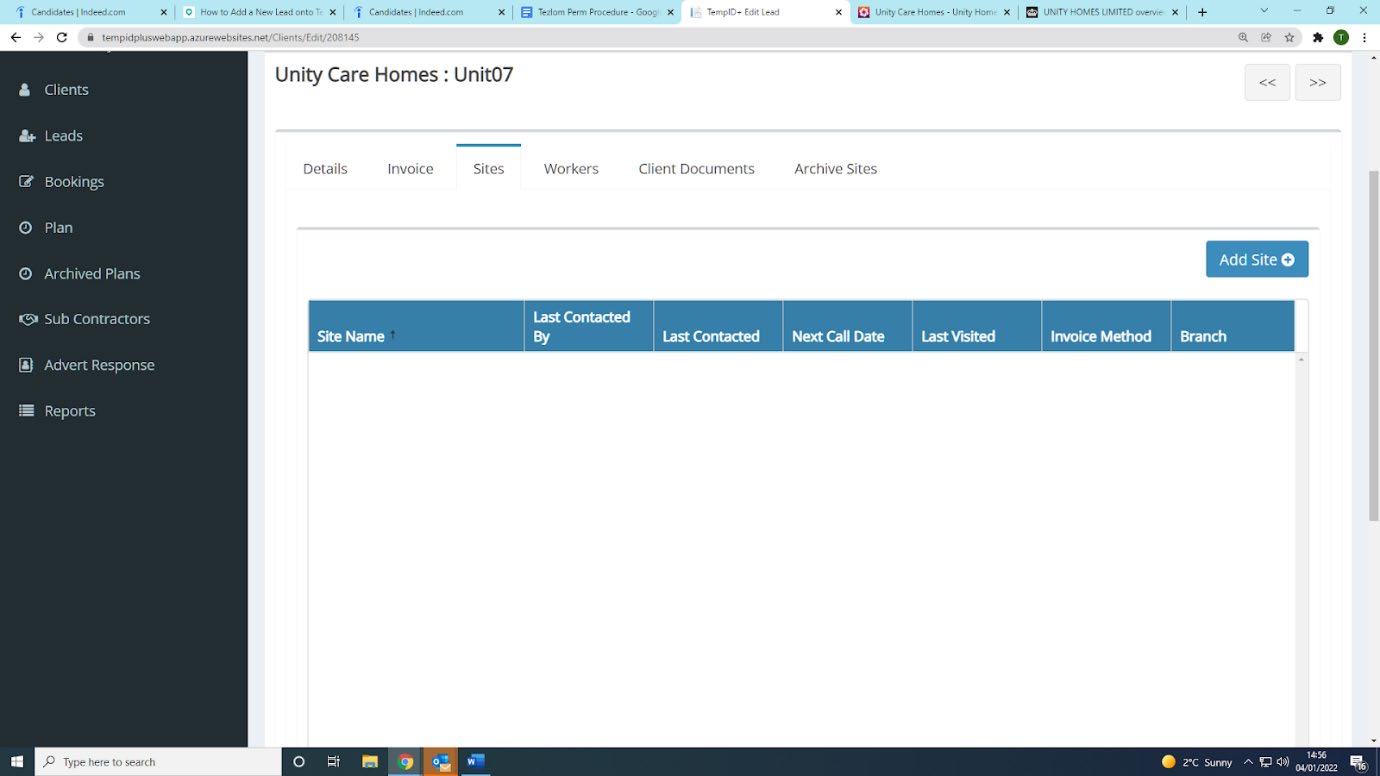
- You now need to click on the ‘Sites’ tab as shown below and then click on ‘Add Site’:
- The following page will appear with the header ‘Communication Details’. You will need to complete the following:
- Site Name (this is always ‘head office’)
- Address (you can click on ‘use lead address for site address’ to auto-fill the address)
- Branch (this is where your office is located e.g. Southport)
- Telephone number
- Invoice Method (this is always ‘standard’)
- Site Cost Centres (this is always Permanent Healthcare)
- Click Save


- Once you have completed the ‘Communication Details’ tab, click on the ‘Dept/Contact’ tab. You will need to fill in the following:
-
- Title
- Forename
- Surname
- Cost Centre (always permanent healthcare)
- Position
- Telephone number
- Mobile (if you have it)
- Email address
- Click Save
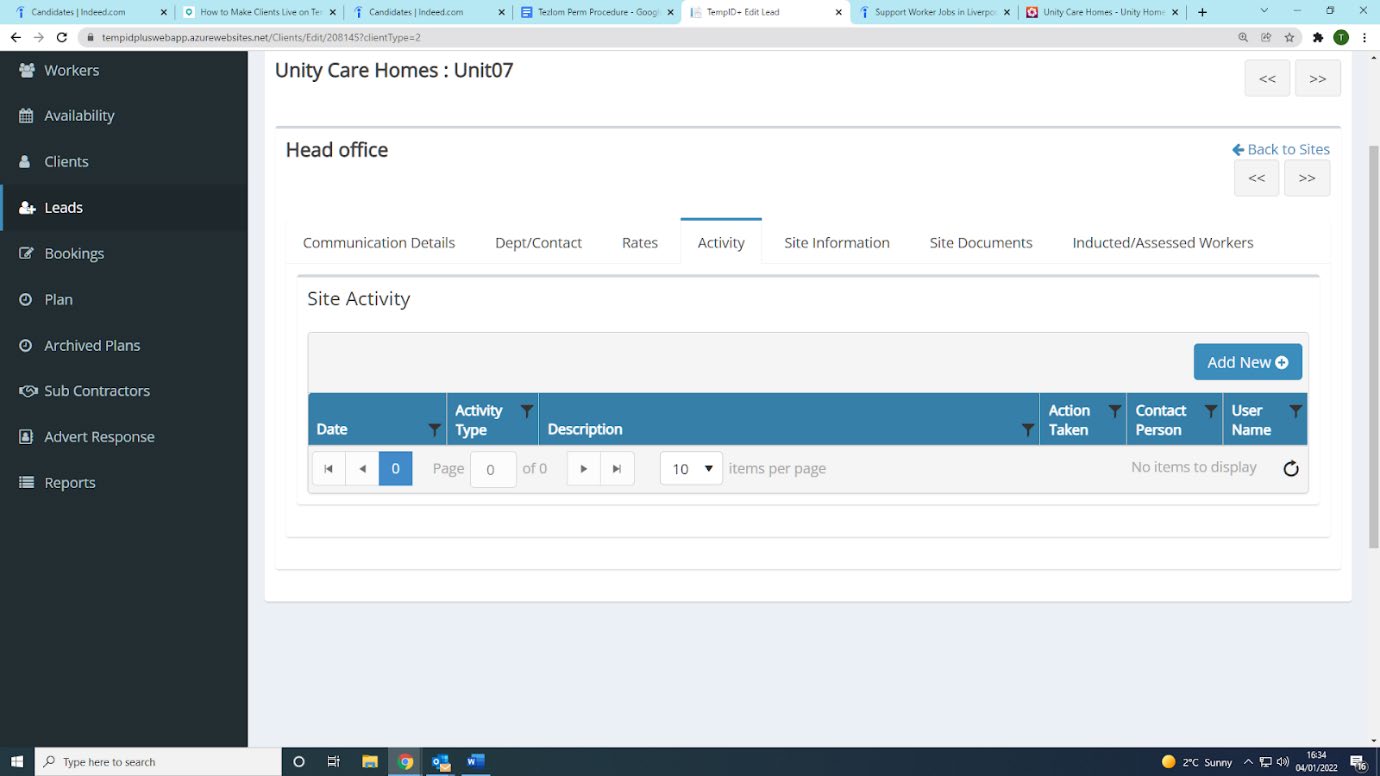
- Now that you have completed the ‘Dept/Contact’ tab, click on ‘Activity’ as shown below:
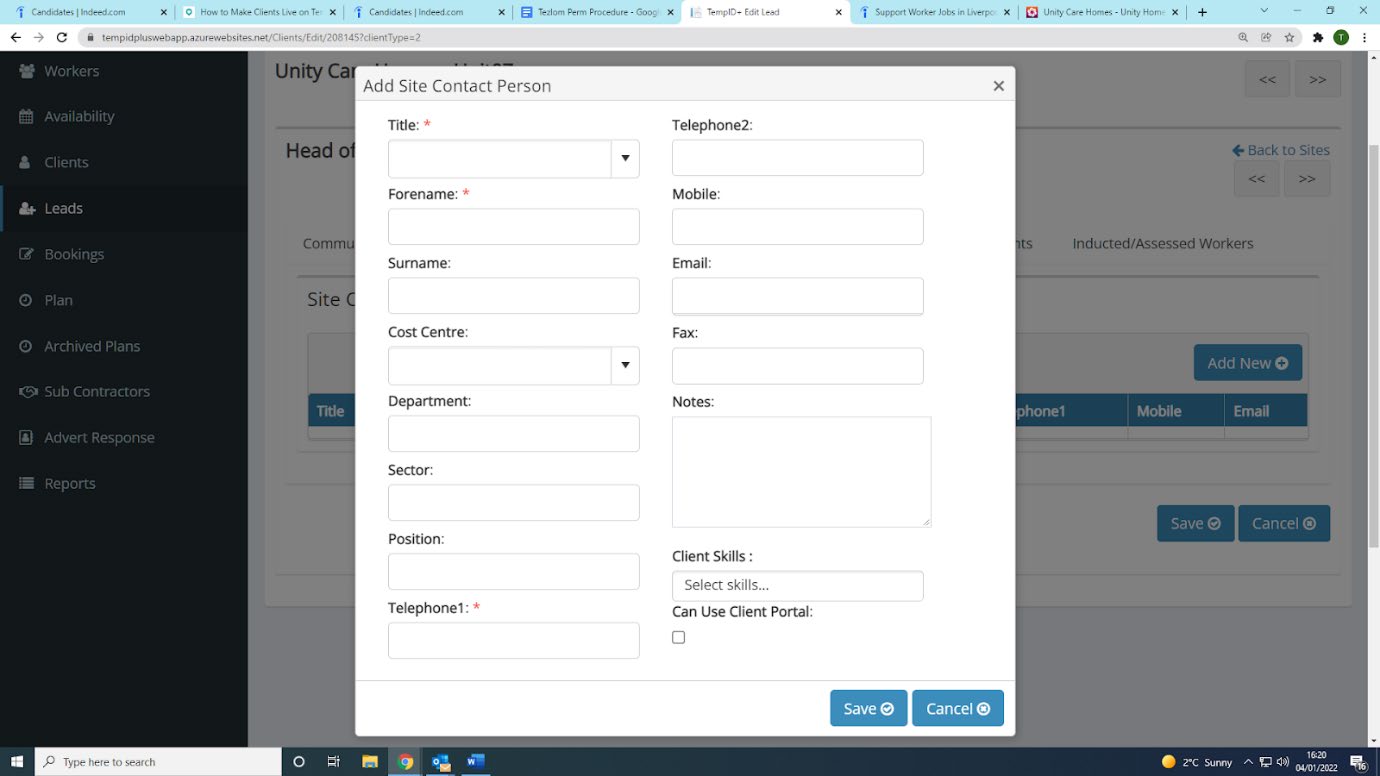
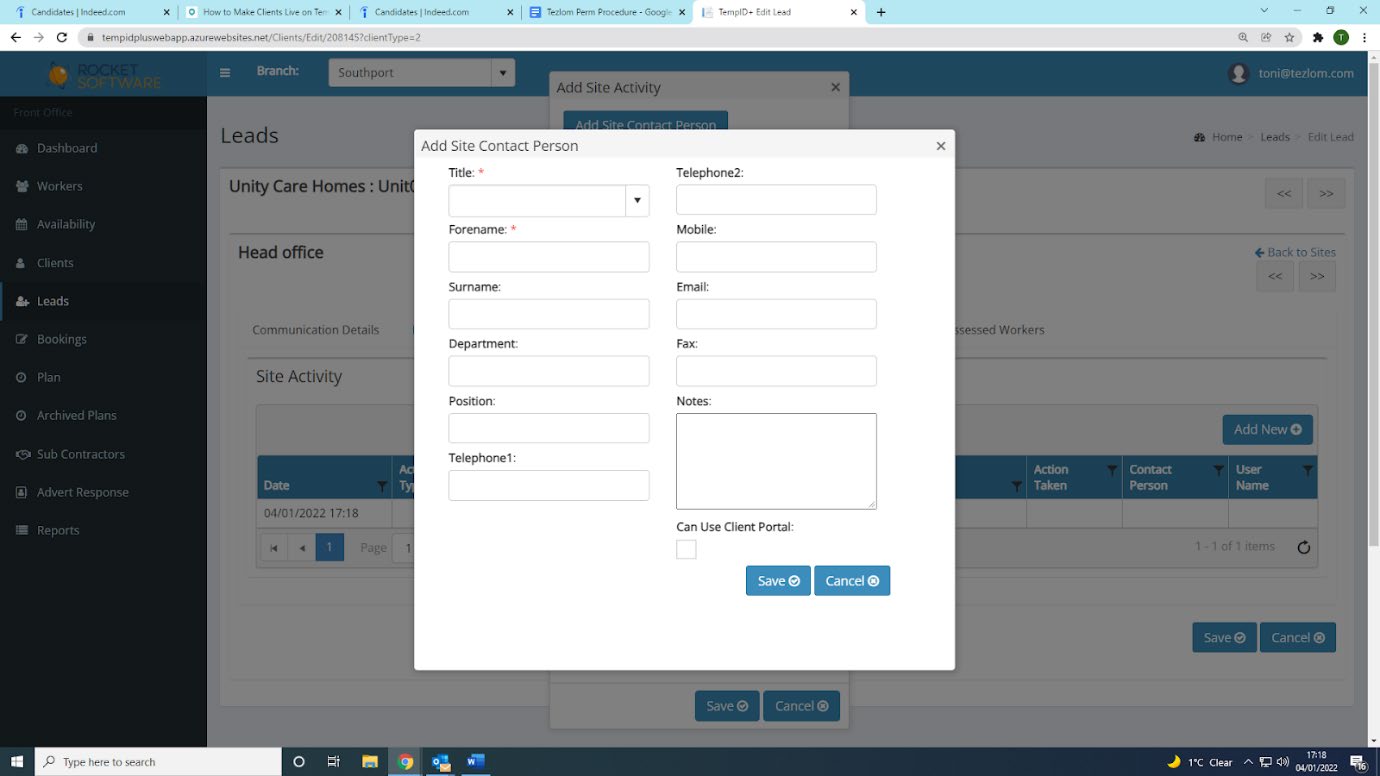
- Click on ‘Add New’. You will need to click on ‘Add Site Contact Person’ and fill in the following:
-
- Title
- Forename
- Surname
- Position
- Telephone number
- Mobile (if you have it)
- Email address
- Click Save
- Once you have completed the above, you will be presented with this page shown below. You will need to fill in the following:
-
- Contact person (this will be the individuals details that you have just entered in the previous step)
- Activity type (e.g. sales call/sales email)
- Description (content of the call/email, e.g. spoke to…., told me to call back tomorrow)
- Action Taken (outcome of the call/email, e.g. scheduled a call for 3pm tomorrow afternoon)
- Next Call Date (in this instance, you would schedule a call for the following day, however you should aim to call at least once a month)
- Last visited (The day you called)
- Click Save

- You now need to click on the ‘Site Documents’ section as shown below.
- This is where you will upload the terms of business and any other relevant documents that you get back from the client. Click on ‘Choose Files’ shown below:
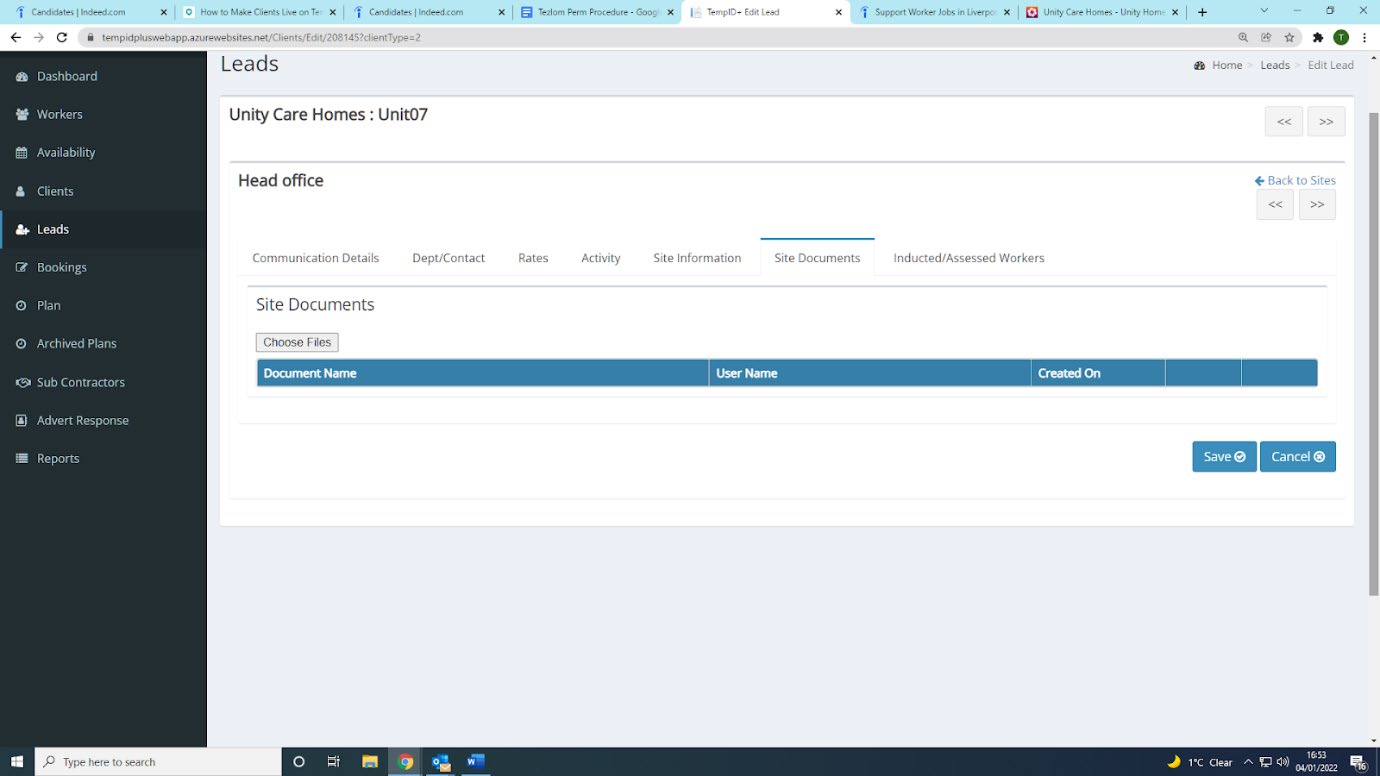
- The below should pop up once you have clicked on ‘Choose Files’. The way you lay out your computer and documents may be different, however in this example, I have saved all terms of business within a separate folder, as shown below:
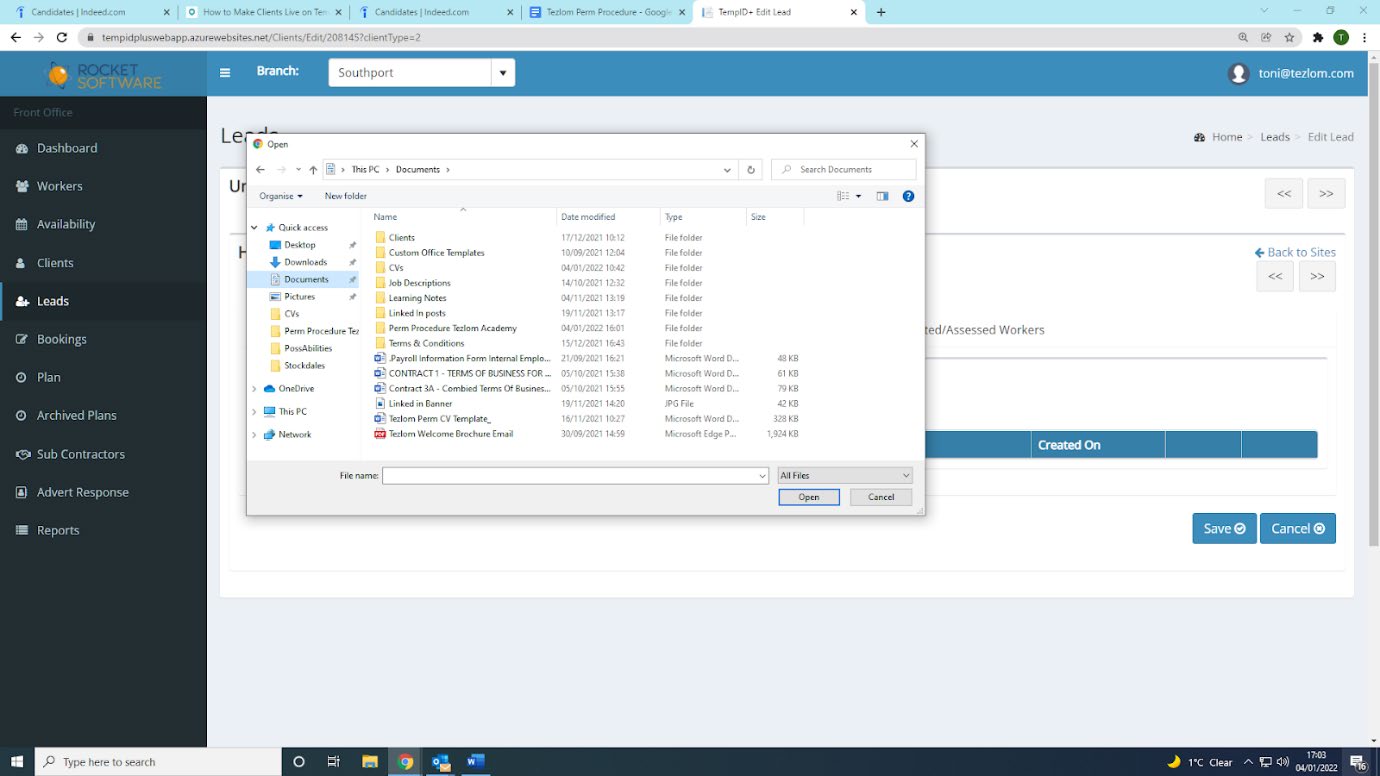
- Click on the terms of business and any other relevant documents for the client, and click ‘Open’.
- Once you have opened all of the relevant documents, click save
You have now successfully made a client live